


How to Embroider Your Knitting
Techniques | 1 min read time
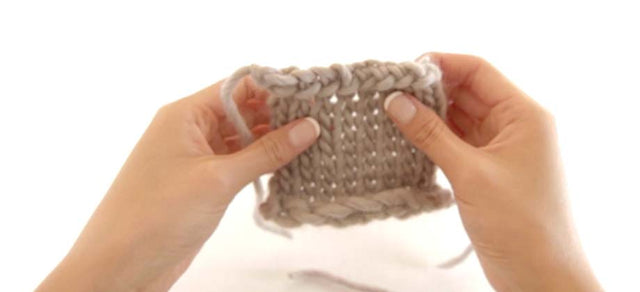
Tutorial Overview
In this tutorial, we'll show you how to embroider your knitted project. You might use this technique to add a face to hats and garments, or to add decorative stitches to your projects. You will also use embroidery to add details such as eyes and whiskers to knitted amigurumi characters.
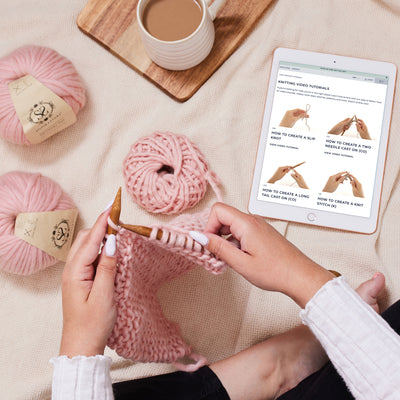
Watch
Step-by-step guide
Step 1:
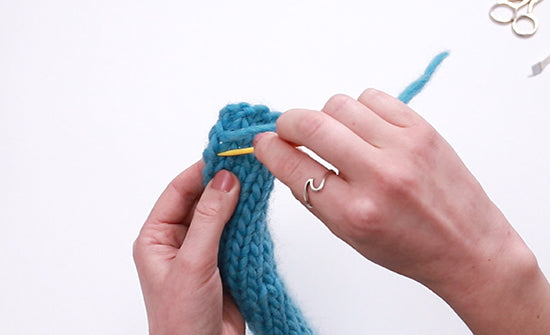
Start by threading a sewing needle with your contrast yarn.
Step 2:
Your pattern will tell you where your embroidery should be placed by counting the rows and stitches. The pattern will also specify the type of sewing stitches you should use.
Step 3:
Once you've identified the starting point, insert your needle from the back of your fabric, bringing it out the front, at the indicated position of the first stitch.
Step 4:
Carefully pull the yarn so the tail sits on the wrong side of the knitted project.
Step 5:
Sew the first stitch, following the pattern instructions, eg. using whip stitch or running stitch.
Step 6:
Bring the needle to the back of your work between the stitches, then out the front again for the next stitch.
Step 7:
You may have to repeat the same stitch 2 or 3 times to give the features a more defined outline. Your pattern will let you know the height and width that your embroidery should cover.
Top Tip
Be careful not to pull the thread too tightly, and ensure you sew in the gaps between your stitches to keep things looking neat.
Step 8:
To embroider the next area of your piece, complete your last stitch by bringing the needle through the back, then up through to the front at your next starting point.
Step 9:
Repeat this technique for each area that uses the same colour.
Step 10:
To finish sewing, bring the needle out of the back of your knitted piece.
Step 11:
On the back of your work you can tie a knot to secure the yarn, and weave in your contrast yarn to secure the tail end.
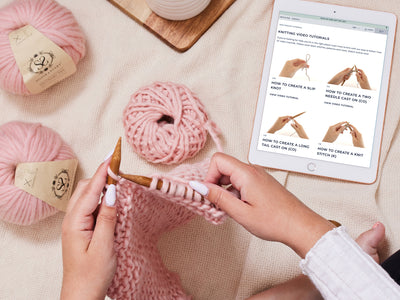
< See all Knitting Video Tutorials
How to Create a Slip Knot
Get Started | 1 min read time
How to Create a Two Needle Cast On (co)
Get Started | 1 min read time
How to Create a Long Tail Cast On (co)
Get Started | 1 min read time
How to Create a Knit Stitch (k)
Get Started | 1 min read time
How to Create a Purl Stitch (p)
Get Started | 1 min read time
How to Create Garter Stitch
Stitches | 1 min read time
How to Create Stocking Stitch
Stitches | 1 min read time
How to Cast Off / Bind Off (bo)
Finish Off | 1 min read time
How to Weave in Loose Ends (On the Right Side)
Finish Off | 1 min read time