


How to Add Braids to Your Project
Techniques | 1 min read time
Tutorial Overview
You can embellish your finished projects with a bunch of decorative touches, like pom poms, tassels, embroidery, and even braids!
In this tutorial we'll show you how to attach braids to your project.
We'll be using a contrast colour to keep things super-clear and simple.
Watch
Step-by-step guide
Step 1:
Your pattern will specify how many strands of yarn you'll need, and how long they need to be for your project.
Step 2:
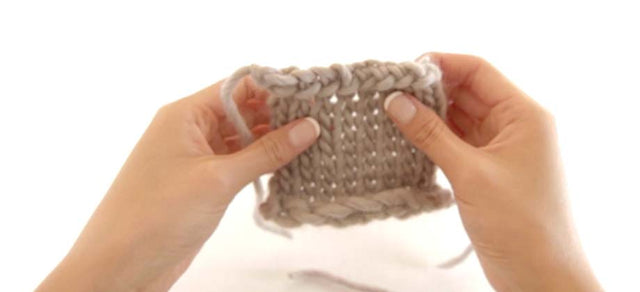
Thread the bundle of yarn between the stitches shown in your pattern.
We've threaded a bundle of 6 strands through our project.
Half of your strands should now have come out of the front of the stitch, and the other half of the bundle out the back of the stitch.
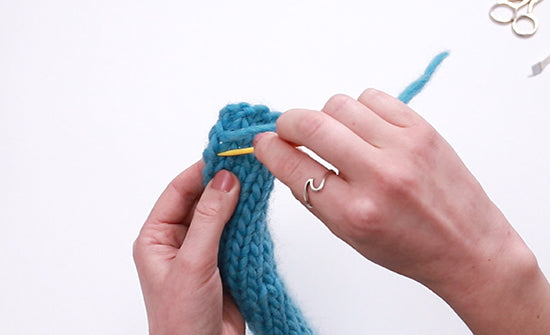
Step 3:
Make sure you have approximately the same length at the front, as you do at the back.
Now bundle the yarn strands into even groups. Our 6 strands have become 12. We'll now divide these into 3 groups of 4 strands each.
Step 4:
Now we'll begin braiding the strands.
Hold each group of strands taught, so that the braid won't come loose while working on it.
Step 5:
Cross the strands on the left over the middle section.
And then cross the strands on the right over the middle section.
Step 6:
Repeat this until you reach the end of the yarn bundle.
Step 7:
Once you've finished your braid, tie the end with a short piece of spare yarn to secure.
Trim the ends to finish it off.
Step 8:
Repeat for all the braids you'd like to attach to your project!
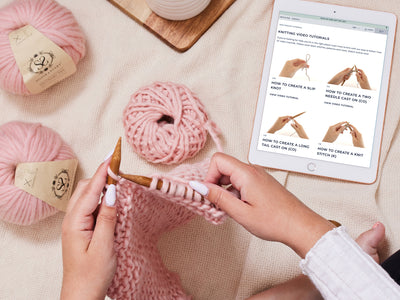
< See all Knitting Video Tutorials
How to Create a Slip Knot
Get Started | 1 min read time
How to Create a Two Needle Cast On (co)
Get Started | 1 min read time
How to Create a Long Tail Cast On (co)
Get Started | 1 min read time
How to Create a Knit Stitch (k)
Get Started | 1 min read time
How to Create a Purl Stitch (p)
Get Started | 1 min read time
How to Create Garter Stitch
Stitches | 1 min read time
How to Create Stocking Stitch
Stitches | 1 min read time
How to Cast Off / Bind Off (bo)
Finish Off | 1 min read time
How to Weave in Loose Ends (On the Right Side)
Finish Off | 1 min read time