


Sewing Up: Vertical & Horizontal (Stocking Stitch)
2 min read time

Hello knitters,
It’s been a while since we’ve posted a Knitting Tips Blog post but we’re back again and will be every Thursday from now on; responding to your requests with detailed instruction on specific knitting techniques related to our beautiful kits. Whether a complete beginner or just looking to brush up on your skills we’ll help you along the way.
Today we’re going to look at ‘Sewing Up’ and more specifically the invisible seam technique for horizontal and vertical seams on pieces knitted in Stocking Stitch.
Beginner's guide - Sewing Up in Stocking Stitch (invisible seaming)
Tip: You want to ensure seams are not too tight but have a little elasticity.
How to sew a vertical invisible seam - Mattress Stitch
Mattress Stitch connects running stitches, the little horizontal bars of yarn connected to the bottoms of the V-shaped knit stitches. This sewing technique is used to join the edges of knitted fabric and is perfect for seaming up sweaters and hats.

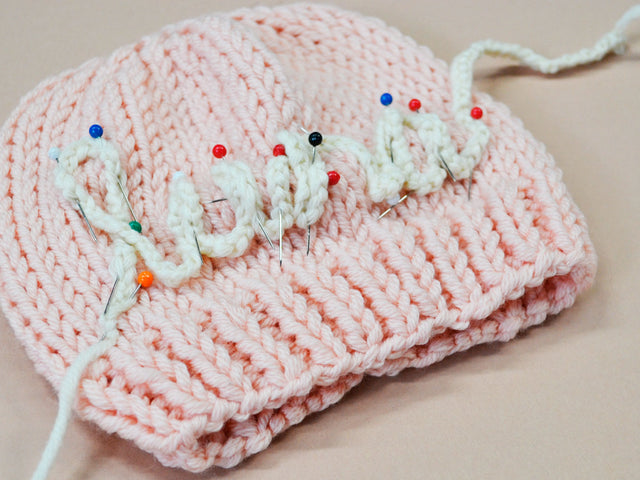
With the right sides facing you, lay pieces to be joined side by side making sure to line them up stitch by stitch.
Tip: You may want to safety pin larger pieces together to prevent them moving as you sew.
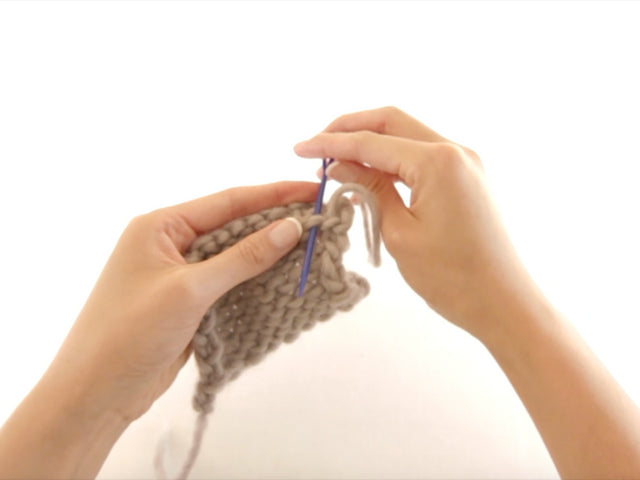
Step 2Thread the sewing needle under the first edge running stitch of one piece, between the V’s, and pull the yarn through.

Thread the sewing needle under the corresponding running stitch on the other side and pull the yarn through.

Repeat steps 2 and 3 until the seam is complete.


Pull the thread to bring the seams neatly together.


Front view

Back view
Step 6Knot and weave the loose ends through the back of your work.


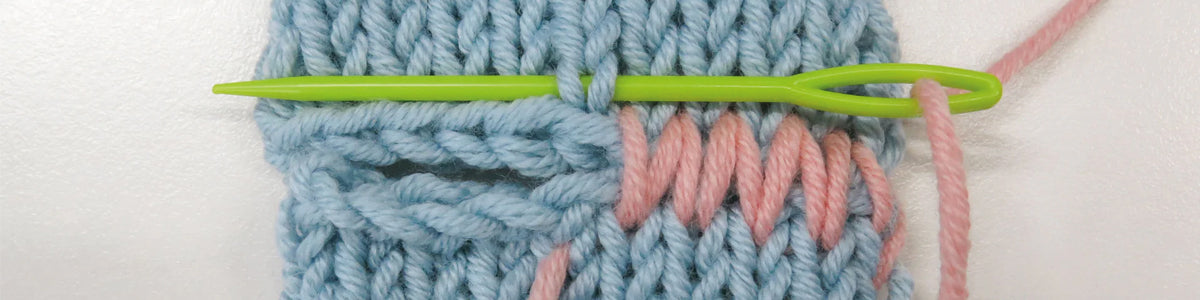
How to sew a horizontal invisible seam
This technique is mainly used to seam together cast on and cast off edges neatly and is perfect for joining shoulder seams. The finished seam resembles a row of knit stitches.

With the right sides facing you, lay pieces to be joined one above the other making sure to line the cast on/off edges up stitch by stitch.
Tip: You may want to safety pin larger pieces together to prevent them moving as you sew.
Step 2Thread the sewing needle under and out through the centre of the first V stitch of one piece, inside the cast on/off edge, and pull the yarn through.

Thread the sewing needle under the corresponding V stitch on the other side and pull the yarn through.

Thread the sewing needle back through the centre of the first V and under the V stitch next to it and pull the yarn through.

Thread the sewing needle under the corresponding V stitch on the other side and pull the yarn through.

Repeat steps 2 to 5 until the seam is complete.


Pull the thread to bring the seams neatly together. You want to ensure your seam has some elasticity and resembles a row of knit stitches so don’t pull too tight.

Front view

Back view
Step 6Knot and weave the loose ends through the back of your work.


Check back next Thursday for instruction on sewing up pieces knitted in Garter Stitch. Happy knitting!
Don’t forget to share your story #stitchandstory #yarnmazing