


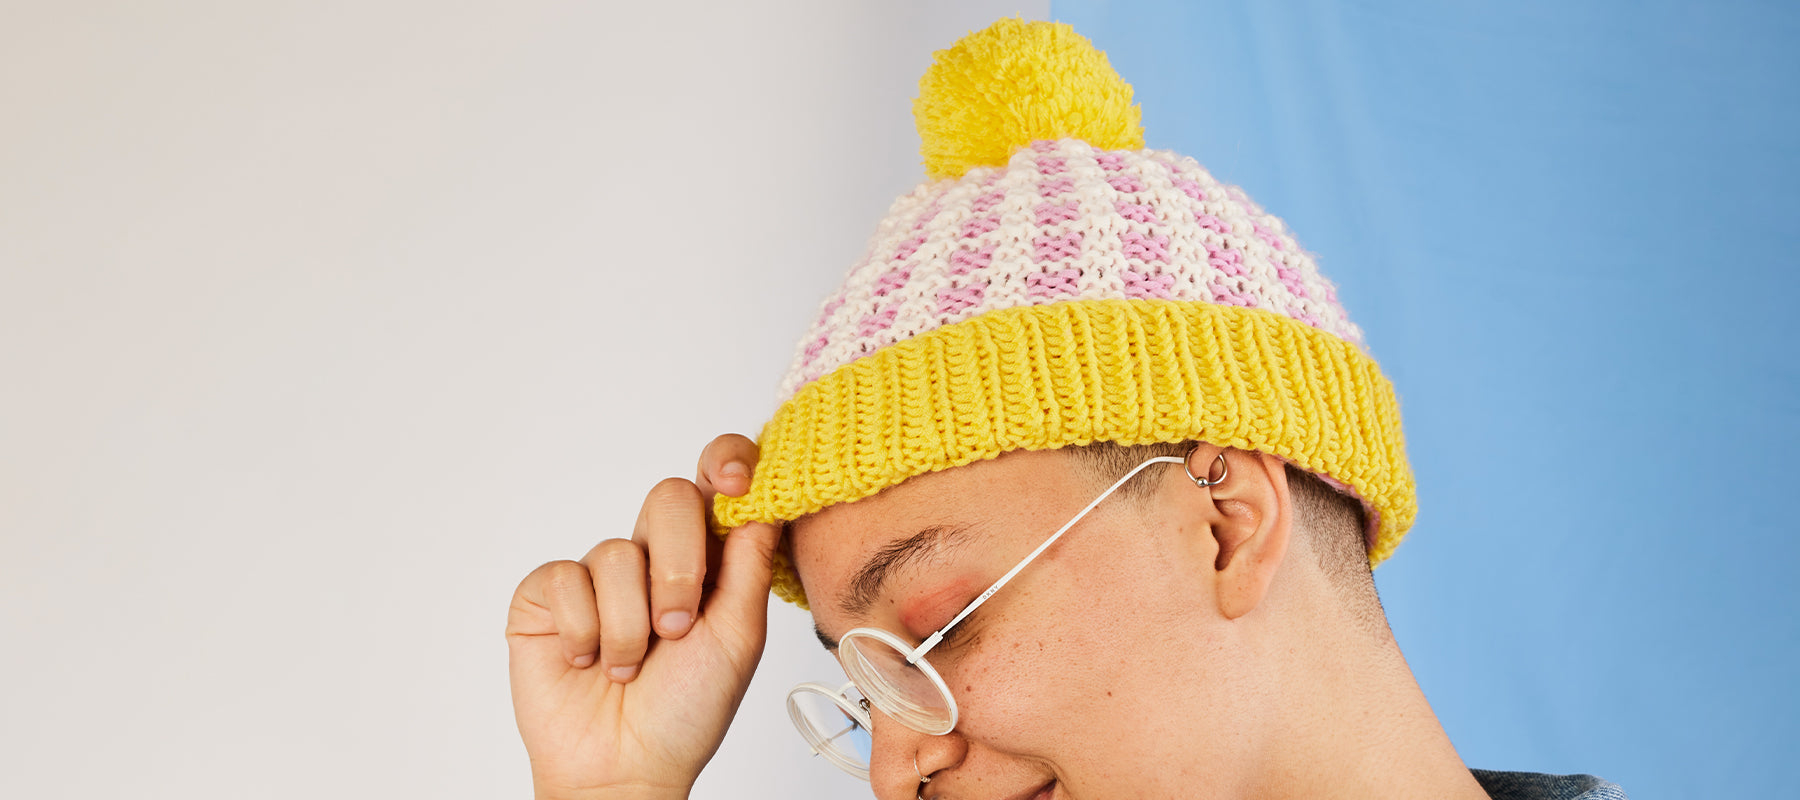
The Arkel Grid Beanie KAL: Part 2
Knitting | 1 min read time
Our next instalment will show you how to knit the main body of your hat.
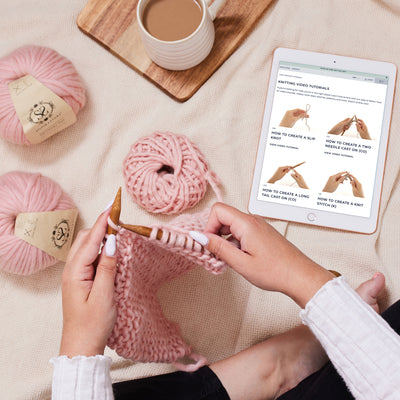
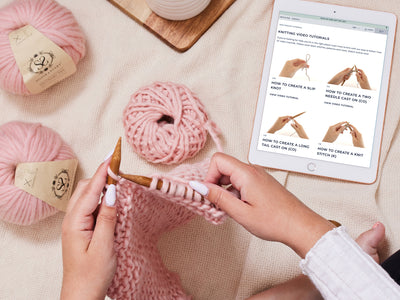
Once you’ve completed Part 1 of your pattern, join us here for tips to knit the slip stitch pattern, and work colour changes to make the main grid design.
For this section of the hat you’ll need Colour B and Colour C. We’re using the Lil’ Merino yarn in Bright White (Colour B), and Baby Blue (Colour C).
How to knit the slip stitch pattern
This section of the pattern uses a few different techniques, including moving your yarn, and regularly changing colours.

Abbreviations
- k - knit
- sl - slip
- YB - bring yarn to back of work
- YF - bring yarn to front of work
The slip stitch pattern repeat
This pattern is made up of an 8 row repeat, with a yarn colour change every 2 rows.
Step 1
Join Colour B, and work the following 2 rows:
1st row: sl2, *k2, sl2, repeat from * to the end of row.
2nd row: YF, sl2, YB, *k2, YF, sl2, YB, repeat from * to end of row.

2nd row in progress
Step 2
Join Colour C and work the following 2 rows:
3rd row: k2, *sl2, k2, repeat from * to end of row.
4th row: k2, *YF, sl2, YB, k2, repeat from * to end of row.

End of the 4th row
Step 3
Returning to Colour B, repeat the 2 rows from Step 1:
5th row: sl2, *k2, sl2, repeat from * to the end of row.
6th row: YF, sl2, YB, *k2, YF, sl2, YB, repeat from * to end of row.

End of the 6th row
Step 4
Pick up Colour C again and knit all stitches on 9th and 10th rows.
These 10 rows can then be repeated as many times as the pattern indicates, to create the body of your beanie.

How to carry yarn up the side of your work
Reduce the number of yarn ends you need to sew in by carrying your yarns up to the next colour-change row.
When adding in a new yarn colour, keep the first yarn attached. Knit the number of rows required, and each time you finish a row on the same side as the original yarn, make a wrap to carry the strand of yarn up the edge of your project.

When you’re ready to switch colours again, your yarn will be ready to go!
In Part 3, our final instalment, we'll show you how to knit the crown of your hat, sew it together, and add a pom pom for the finishing touch.
Share your pattern progress with a community of crafters on Instagram and Facebook.