


Sewing Up a Straight Edge Using Whip Stitch
Finish Off | 1 min read time
Tutorial Overview
There are many ways to sew crocheted pieces together. In this tutorial we'll show you how to sew up a straight edge using whip stitch. This method is perfect when finishing crocheted cushions, hats and garments.
Watch
Step-by-step guide
Step 1:
First, align the pieces you'll be sewing together, with the right sides facing you.
Step 2:
Ensure both edges line up from the starting point, to the end point.
If your crocheted pieces are large, you can use pins to hold the pieces together while you sew.
Step 3:
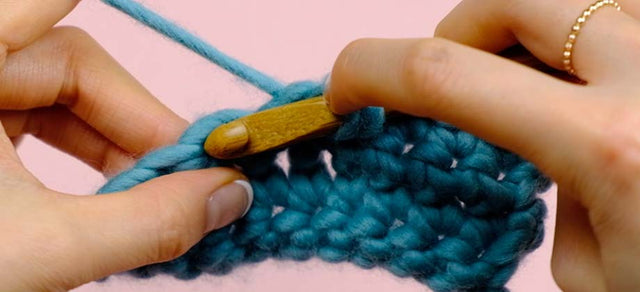
Next, thread your sewing needle with a length of yarn.
Step 4:
Bring the needle from the back of one of your pieces, through the first stitch, up to the front.
Step 5:
Then down through the first stitch on your second piece, and out the back.
Step 6:
Bring your needle up from the back, to the front, on the first piece again.
Step 7:
Then down through to the back on the second piece.
Step 8:
When you've finished, you'll see a neat row of diagonal stitches along your project.
< See all Crochet Video Tutorials
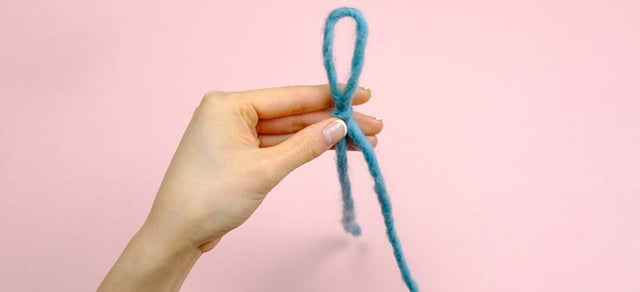
How to Create a Slip Knot
Get Started | 1 min read time
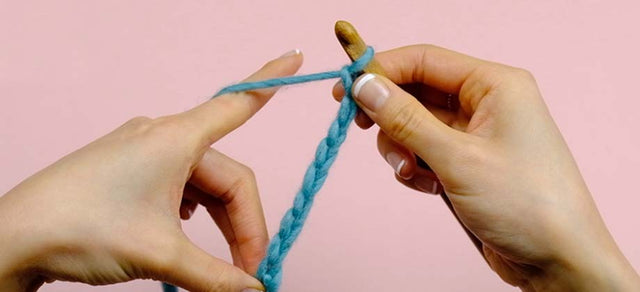
How to Create a Foundation Chain
Get Started | 1 min read time
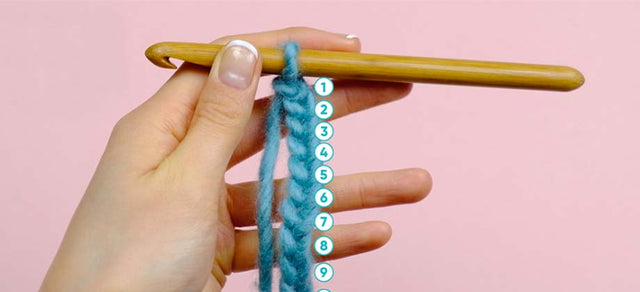
How to Count Chains
Get Started | 1 min read time
How to Single Crochet (US terminology)
Stitches | 1 min read time
How to Half Double Crochet (US terminology)
Stitches | 1 min read time
How to Double Crochet (US terminology)
Stitches | 1 min read time
How to Treble Crochet (US terminology)
Stitches | 1 min read time

How to Slip Stitch (ss)
Stitches | 1 min read time
How to Decrease Using sc2tog (US terminology)
Stitches | 1 min read time