


How to Create a Slip Stitch Seam
Techniques | 1 min read time
Tutorial Overview
There are many ways to sew crocheted pieces together, such as mattress stitch and whip stitch. In this tutorial we'll show you another way, using crochet slip stitches, to create a pretty and durable seam in your crochet projects. We'll use a contrast colour in this video so that you can see the stitches nice and clearly.
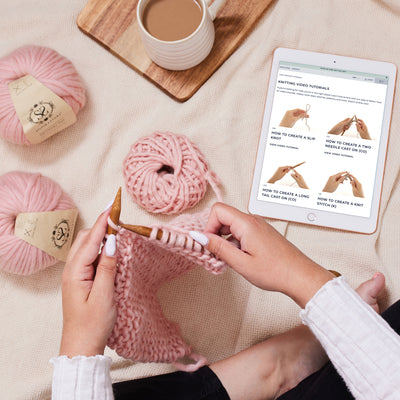
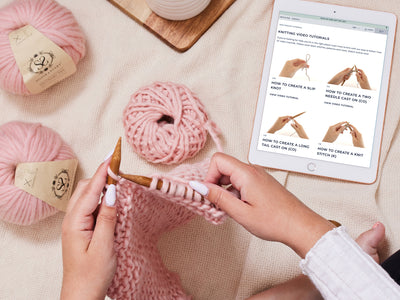
Watch
Step-by-step guide
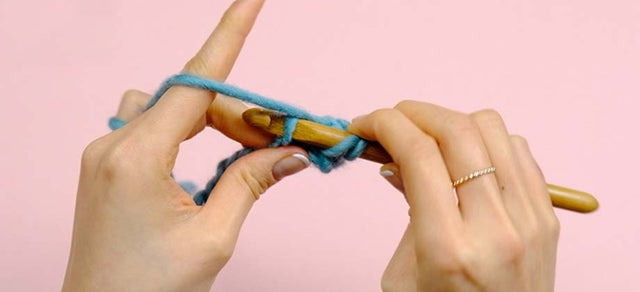
Step 1:
Place your 2 crochet pieces next to each other, with the 2 edges that we will stitch along aligned. (Your pattern will tell you whether the right or wrong sides should be facing outwards.)
Step 2:
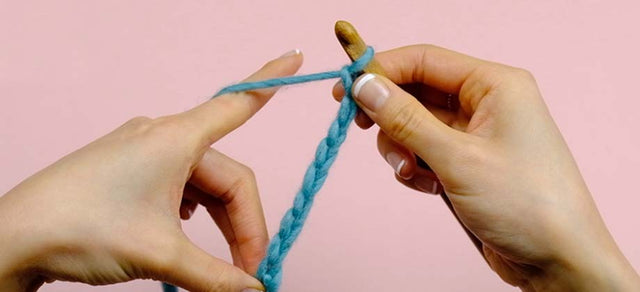
Using your yarn tail, make a slip stitch through both the stitch of your front piece and the equivalent stitch on the back piece together. To do this, insert your hook through the next stitch of both panels.
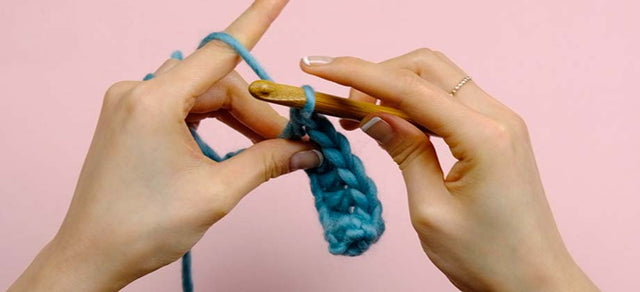
Step 3:
Yarn over and pull through both layers of fabric.
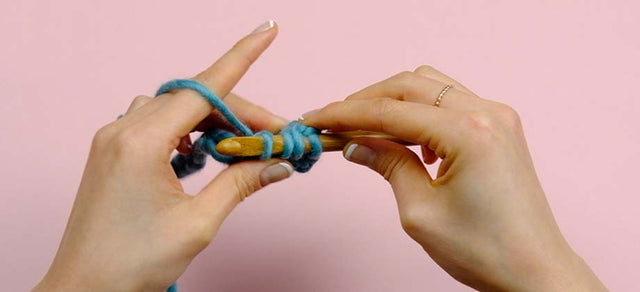
Step 4:
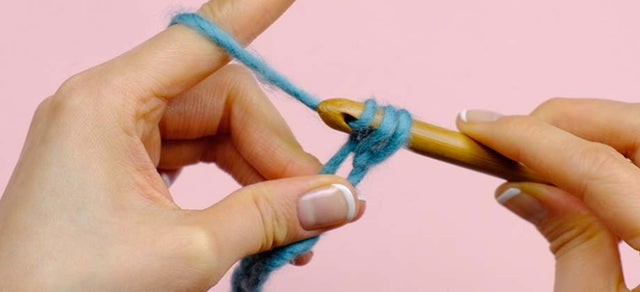
Then pull the same loop of yarn through the loop on your hook to complete your slip stitch.
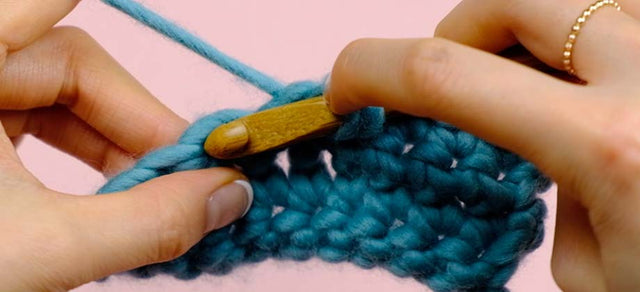
Step 5:
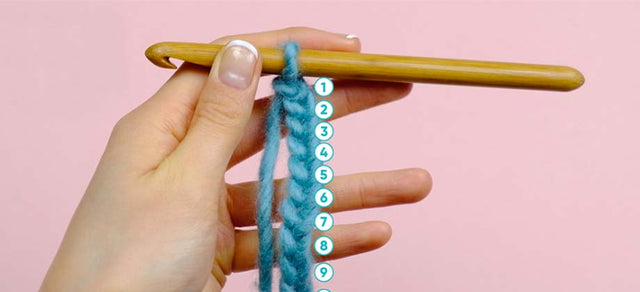
Continue working slip stitches through the front and back pieces together.
Top Tip: Your pattern will specify whether to work through both loops on each panel. In some projects you may work through the back loop of only one piece, and through the front loop of the other.
Step 6:
When you have reached the end of the seam, or closed the round, fasten off your last stitch.
< See all Crochet Video Tutorials
How to Create a Slip Knot
Get Started | 1 min read time
How to Create a Foundation Chain
Get Started | 1 min read time
How to Count Chains
Get Started | 1 min read time
How to Single Crochet (US terminology)
Stitches | 1 min read time
How to Half Double Crochet (US terminology)
Stitches | 1 min read time
How to Double Crochet (US terminology)
Stitches | 1 min read time
How to Treble Crochet (US terminology)
Stitches | 1 min read time

How to Slip Stitch (ss)
Stitches | 1 min read time
How to Decrease Using sc2tog (US terminology)
Stitches | 1 min read time