


The Magic Of Knitting In The Round
5 min read time
Hello crafters,
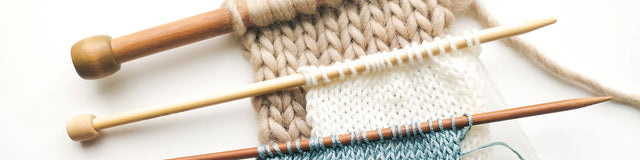
Circular needles are great tools when it comes to knitting larger projects, or items you need to do in the round. They consist of two needles and are connected by a cord that comes in various lengths. Stitch & Story has just added the first circular needles to our collection. The idea of using circular needles might seem daunting if you’re a beginner but they’re just as easy to use as straight needles - some people might even say easier. To help we’ve outlined how to cast on and how to use circular needles below, including the clever Magic Loop method for knitting smaller items in the round.
BEGINNER’S GUIDE - HOW TO KNIT WITH CIRCULAR NEEDLES (CAST ON AND MAGIC LOOP)
CAST ON
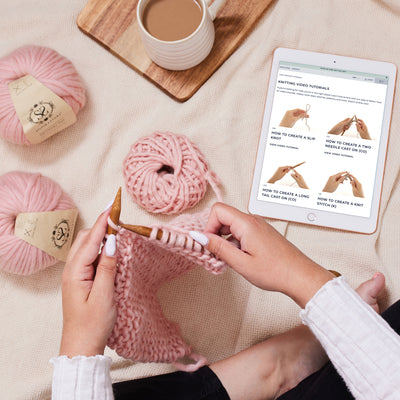
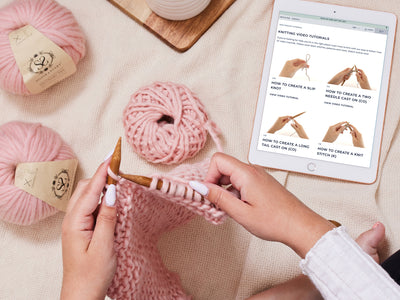
Casting on using circular needles is very similar to casting on using straight needles. The only real difference is that your circular needles are connected by a cord. Both the two needle cast on and long tail cast on, demonstrated in our online video tutorials, are suitable for circular needles. When casting on using circular needles make sure that your cord and stitches do not twist. Keeping as many cast on stitches as possible on the needle rather than sliding them onto the cord helps prevent them twisting and makes it easier to see if they do.
USING CIRCULARS FOR STRAIGHT KNITTING
Circular needles are not just for knitting in the round. In fact, some crafters use circular needles for all their knitting projects. The added length of the cord between each needle means circular needles are particularly useful for knitting projects with a large number of cast on stitches such as a sweater or blanket. Knitting a large item using circulars also helps take a lot of the weight off the needles as most of the stitches will sit on the cord which can rest on your lap or a table, for example. With less weight to tire your hands and arms you can knit for longer. There’s also less chance of stitches slipping off the needles, which is more of a risk when you have a large number of cast on stitches squeezed onto straight needles.

The Chunky Tassel Throw Knit On Circular Needles
To use circular needles for straight knitting, cast on and knit your first row as you would with straight needles. It may help to imagine there is no cord and think of the needle ends as two separate needles. Before knitting your second row transfer the needle in your left hand to your right and the needle in your right hand to your left, turning your work. Knit as before, just remembering to swap needles at the end of every row.
JOINING IN THE ROUND
If you’re using circular needles to knit a project in the round, then you need to join the round after you’ve cast on. Your first stitch of your first row of the pattern will be your joining stitch. The most important thing when joining in the round is that none of the stitches on your circular needles are twisted.

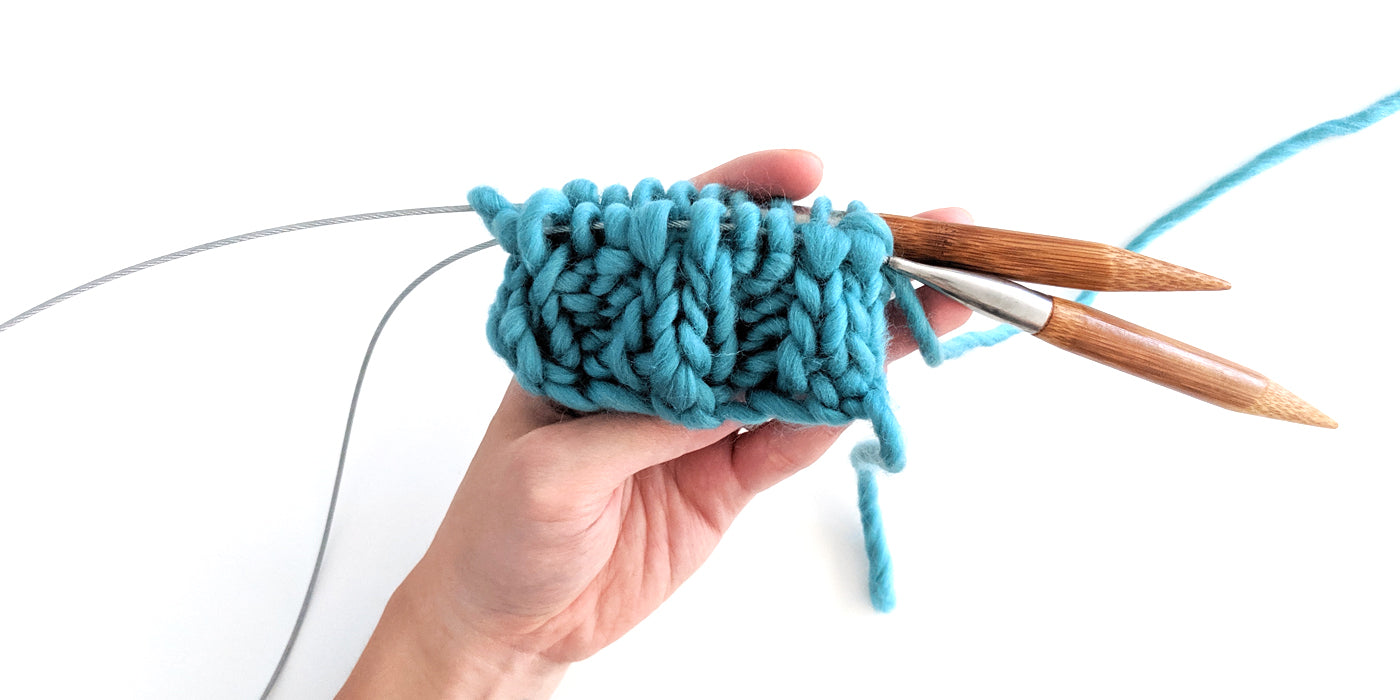
Hold the needles so that the needle end with your working yarn (tail end) is in your right hand* and your needle end with the first stitch you cast on is in your left hand. The cord should be looping towards you in a horseshoe shape. Check that the base of every stitch is pointing into the centre of your circle, adjusting any that may be twisted.

Insert your right needle into the first stitch on your left needle and knit it as per pattern instructions. Your cast on stitches are now joined in a round. Continue knitting the stitches as directed in the pattern, watching that your stitches aren’t twisting as you work.

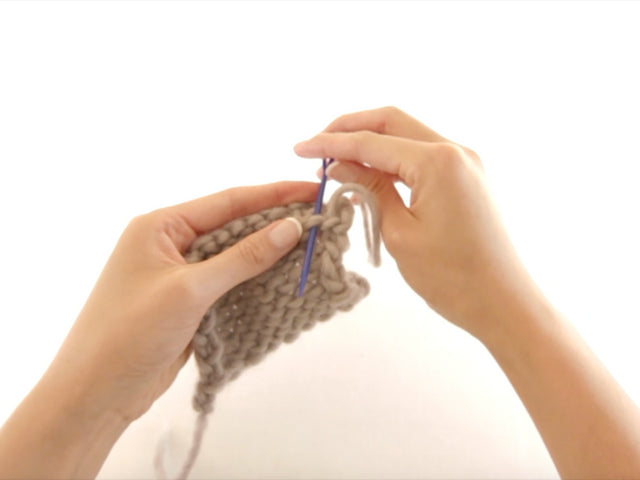
To help know when you’ve come to the end of a round it’s worth using a stitch marker. This is a small ring (that your needle easily fits through) that you slip onto your working needle before you knit the first stitch. This ring will work its way along the needle and cord and onto the other needle as you knit your round. When you get to the stitch next to it you know that is the last stitch of that round. Once you’ve knit your last stitch, slip the ring back onto the other needle end and continue with knitting your next round. In the absence of an official stitch marker a piece of contrasting coloured yarn tied in a loop works just as well.
* This is for right-handed knitters. The reverse would be true for left-handed knitters.
MAGIC LOOP
Often when using circular needles to knit in the round you may have a cord that is longer than the number of cast on stitches. This is usually the case for smaller projects such as a hat or the sleeve of a sweater. The Magic Loop method allows you to easily use circular needles for projects with a smaller circumference, irrespective of how long the cord is. This circular knitting method is not to be confused with the Magic Ring (Magic Loop) method used in crochet. A video tutorial demonstrating the Magic Loop method will be available soon.

1. Cast on the total amount of stitches you will need onto the needle, as instructed in the pattern.

2. Slide all the cast on stitches onto the cord.

3. Fold the cord in half at the halfway point of your cast-on stitches so that an equal amount of stitches sit either side of the cord.

4. Pull out the loop of cord in between this halfway point.

5. Continue to pull the cord until all the cast on stitches are separated into two halves onto both needles.

6. Stack one needle on top of the other in your left hand. The needle with your working yarn (tail end) should be at the bottom. These are the 2nd half of your cast on stitches.

7. Gently pull out the bottom needle so that these stitches are now on the cord. The bottom needle then becomes your working needle in your right hand.

8. Knit across the 1st half of the cast on stitches as instructed in the pattern, from the left-hand needle onto right-hand needle.
TIP: Make sure your working yarn stays on the inside of your circle as you knit.

9. To work the other half, holding the right-hand needle, turn the work and hold in left hand, so the worked stitches are now at the bottom of the round, with the 2nd half of your cast on stitches on the cord, stacked on top.

10. Slide the unworked stitches on the cord onto the front needle.

11. Continue to repeat steps 7 to 10 by working through the stitches in 2 halves.
TIP: Remember to pull the yarn a little tighter at the first stitch of each half, this is to prevent a looser tension at the folds.
We hope you’re as excited about trying circular needles as we are about designing new kits and patterns incorporating them - so watch this space! Let us know in the comments below if there’s any item in particular you’d love to see a circular needles kit for.
Happy crafting!