


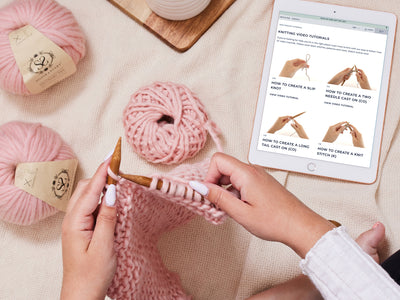
The Daydreamer Pattern Collection: Stitch Techniques
Guest Post | 3 min read time
Marjorie Gütermann shares her top tips for mastering the techniques used in her Daydreamer Pattern Collection.
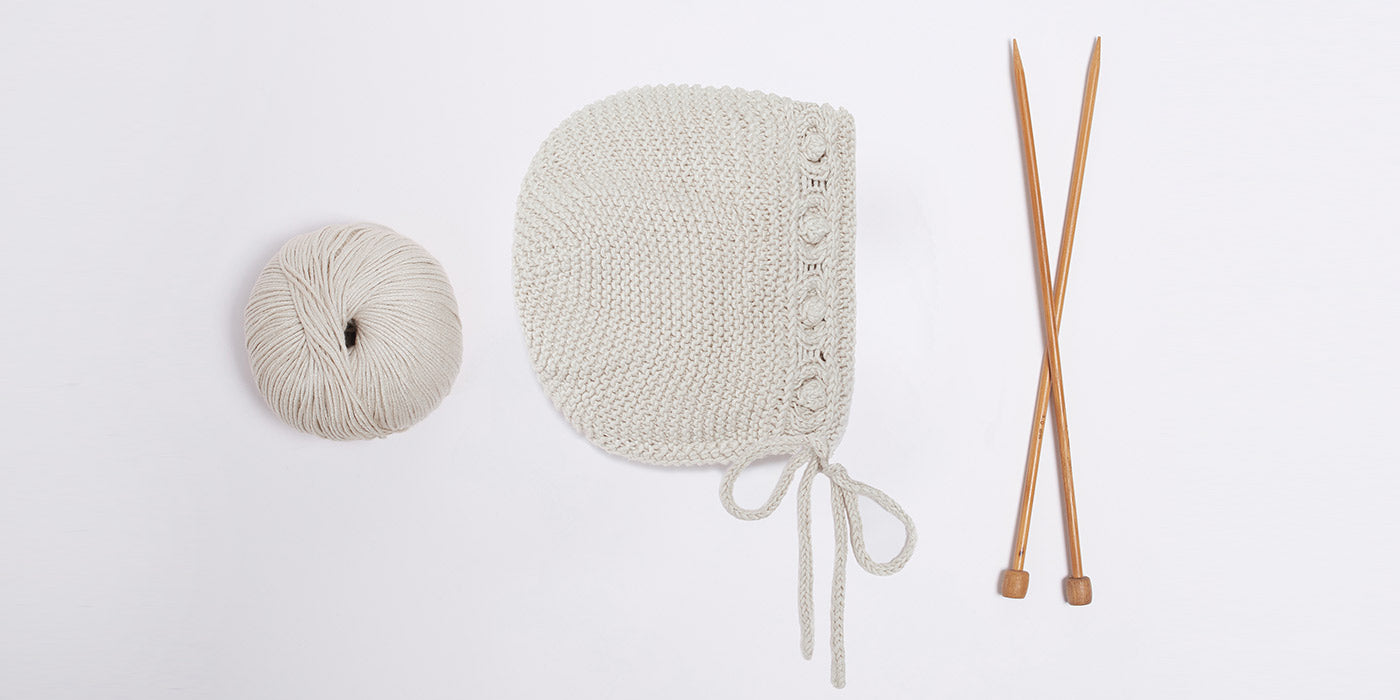
One of the most beautiful knitted baby accessories is a timeless bonnet. It looks both cute on a little one and lovely on its own!
Compared to other baby knits, bonnets are relatively quick to knit, which results in immediate satisfaction and a wonderful sense of achievement.
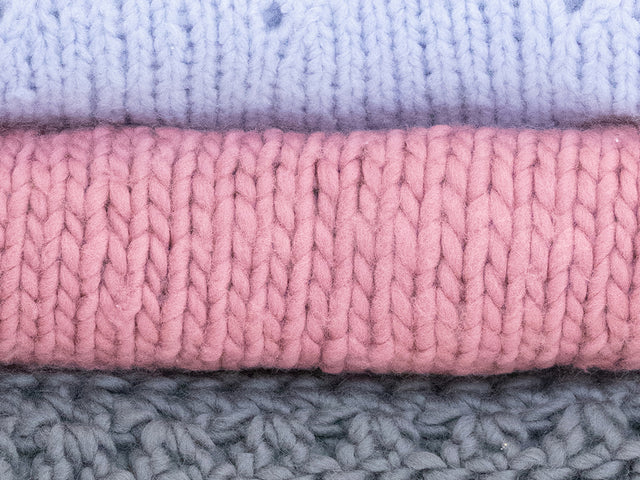
This design is knitted with simple garter stitch, yet features decorative elements, like the Estonian braid, I-cord, cables and bobbles. And let’s be honest, who doesn’t like bobbles?
Let’s take a closer look at these techniques:
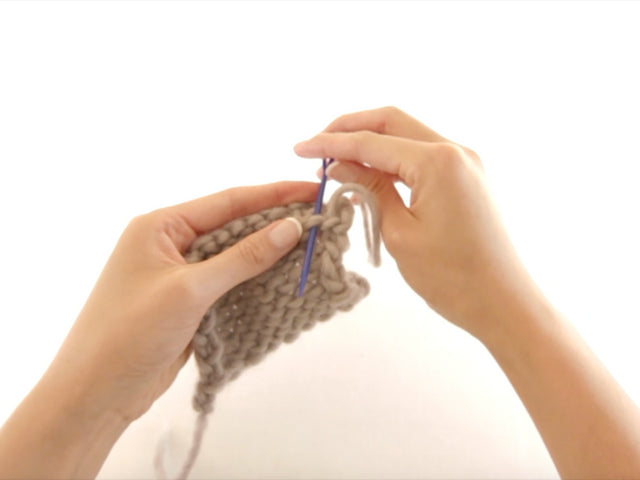
The Estonian Braid
This is made using a horizontal chain of braids, which is worked on the RS (right side) of your work.
- At the beginning of your row, insert the right-hand needle between the first and second stitch of your left-hand needle, yarnover and bring the stitch through to the front of your work.
- Twist the new stitch and place it on your left-hand needle.
- * Now, knit the second stitch in the back loop, but do not drop the stitch yet.
- Instead, knit into the first stitch as normal, then drop both stitches off the left-hand needle.
- Bring the last newly knitted stitch from the right-hand needle to the left-hand needle.
- Repeat the step starting from * until 1 stitch before the end of your row.
- Knit the last stitch and pass the second last stitch over the last one. Et voila!
Explaining the Estonian braid requires a lot of words and it seems like a long read. But trust me, once you get the hang of it, you’ll be finished with your row in no time.
How to Knit the Cables
Simple cables bring a fun twist and so much dimension to a knitted piece. For this bonnet, you’ll be working with CF4 and CB4, which translates as follows:
CF4
- Transfer 2 stitches to your cable needle and place them in front of your work.
- Knit 2 stitches from your left-hand needle and then the 2 stitches from your cable needle.
The same applies for CB4, but you place the cable needle to the back of your work.

How to knit the bobbles
Be honest, don’t you think they look like popcorn too? Here’s a step-by-step breakdown:
- When you’ve reached the part of the pattern that requires you to make a bobble, yarnover and knit 1 stitch - BUT don’t drop the stitch yet.
- Repeat ‘yarnover and knit 1 stitch’ two more times.
- You’ve created 6 stitches in total.
- Turn your work to the WS (wrong side), slip one stitch purlwise, and purl the remaining 5 stitches.
- Turn your work to the RS (right side), slip one stitch knitwise, and knit the remaining 5 stitches.
- Turn your work back to the WS and purl 2 stitches together a total of 3 times (p2tog, p2tog, p2tog)
- Turn your work one last time, slip one stitch knitwise, knit 2 stitches together, and pass the slipped stitch over.

How to Knit the I-Cord
Moving on to the i-cord technique, I find it’s easier to use to make an i-cord using two DPNs (double pointed needles)> You’ll see why in a minute.
I-cords can be knitted separately or attached to your finished knits. The Dream Bonnet calls for both techniques, and this is how you do it:
Knitting an I-Cord Separately
- With 2 DPNs cast on 3 stitches
- Knit 3 stitches, then slide them all the way to the opposite end of your needle (this is why DPNs come in handy!)
- Gently pull your yarn across the back of the stitches, then knit the 3 stitches as normal.
- Slide the stitches to the opposite end of your needle again.
Repeat these steps until you reach your desired length.
Knit an I-Cord Attached to the Bonnet
- Cast on and knit 2 stitches, slip the 3rd stitch purlwise with your yarn in front.
- Hold your bonnet with the back part (not WS!) facing you, pick up 1 stitch on the right-hand side.
- Knit together the picked-up stitch and the stitch you slipped.
- Slide the 3 stitches to the opposite end of your DPN
- Knit 2 stitches, slip 1 stitch purlwise, and pick up 1 stitch as described in step 2.
Repeat steps 3 and 4 until you reach your desired length.
You can now continue with the pattern, making the other strap by following the description above.
I hope this short guide inspires and encourages you to make many bonnets, and to try out different knitting techniques. Enjoy!
Marjorie