


3 Crochet Tips For The Enchanted Woodlands Hat Embellishments
5 min read time
Hello crafters,
The Enchanted Woodlands collection kits invite you to join in the teddy bears’ picnic with the adorable bear baby hat; see stories come to life with the joyful, spring-inspired rabbit baby hat; and watch little ones play in the world of adventure and fairy tales with the blossom adorned deer baby hat. The first Stitch & Story kits to combine both knitting and crochet, they encourage an exploration of both crafts while promoting our ethos of crafting made simple. To read more about the collection and what you can expect from an Enchanted Woodlands kit check out our blog post here. While our beginner friendly patterns and kits contain everything you need to complete your Woodlands projects, we’ve put together some additional crochet tips to help you master the enchanting hat embellishments.
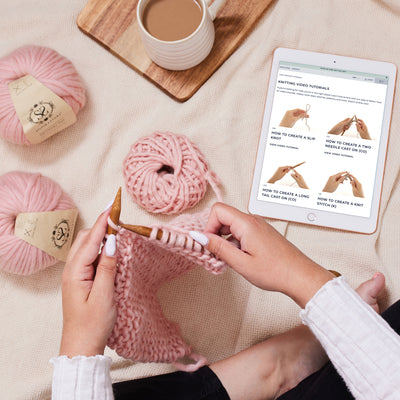
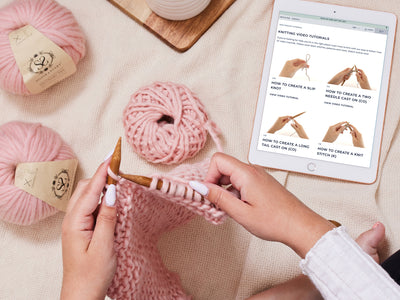
BEGINNER’S GUIDE - HOW TO FINISH THE ENCHANTED WOODLANDS KNITTING & CROCHET KITS
1. Foundation Chain Ring Gaps
The Deer Hat’s antlers, the Bear Hat’s ear inserts, nose and eyes, and the flower motif on the Deer and Bunny Hats all start by making a foundation chain of 3 or 4 stitches, which is then closed into a ring with a slip stitch (ss). This foundation ring is the base from which the pattern for each of these embellishments is worked in the round. This type of foundation ring can result in a small gap in the centre of your crocheted element. While this suits the flower motif you may prefer no gap at the top of the deer’s antlers or in the bear’s ear inserts. To close the gap (once you have finished crocheting the piece) use a sewing needle to thread the foundation chain tail, in a circle, through the back of the foundation chain stitches and pull tightly. The gap should close and you can secure the tail end by weaving it through the wrong side of your work - shown in the Crochet Basic Guide included in your kit.

An alternative method to the foundation chain ring, which is less likely to create a centre gap, is the magic ring (magic loop). This technique, detailed in our blog post here and in the Crochet Basic Guide, would replace the foundation chain and slip stitch in the pattern. Note - you only have to make one chain stitch (step e. in the magic loop instructions) before working your double crochet stitches into the centre of the magic ring. Don’t be confused by combining the magic ring (magic loop) instructions with the 1st rnd pattern instructions and make an additional chain stitch.

2. Deer Antlers - Top vs. Bottom
The deer antlers are the only 3D crochet elements - similar to amigurumi - in the Enchanted Woodlands collection. They are worked from the top down, so your foundation chain ring (or magic ring) will be the top of the large antler piece and the open last round will be the end that you sew onto your hat. This is the same for the small antler piece whose open last round will be the end that you sew onto the large antler piece.
If this is your first introduction to amigurumi crochet then you may want to read our dedicated amigurumi blog post here.

3. Bunny & Deer Ear Inserts
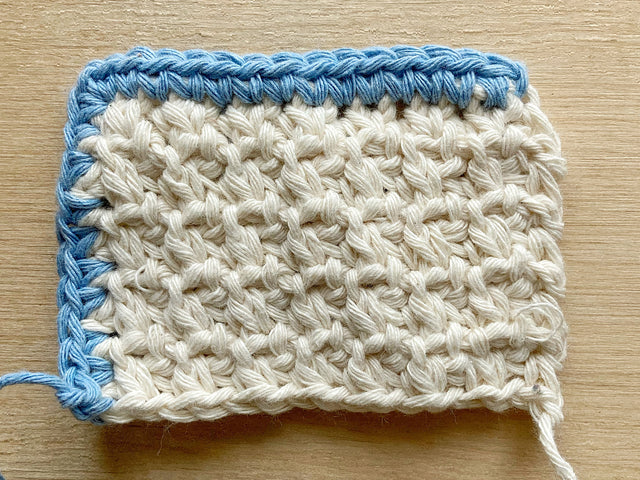
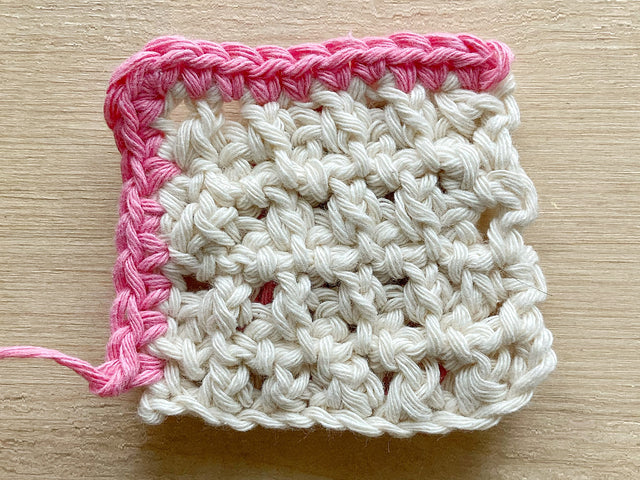
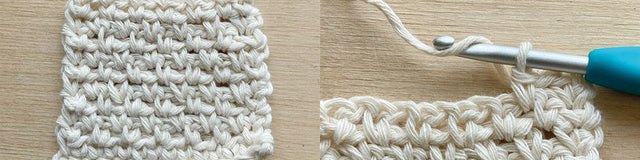
The bunny and deer ear inserts are created by crocheting several rows of pattern and then finished by double crocheting one row of stitches around the circumference of this crocheted piece. If you’re new to crochet, this circumference of stitches could seem a little confusing as its written in one continuous line of pattern. To make it easier, we’ve broken this down into step-by-step instructions below.
When you crochet, you work stitches across your piece from right to left (straight) or anti-clockwise (in the round). The circumference of the bunny and ear inserts is similar to working in the round so you want to follow an anti-clockwise direction around the pieces, or think of it as working the stitches from right to left across each edge.
Bunny Hat
Ch1, dc dec, dc6, dc inc into corner, dc inc across short edge, dc inc into corner, dc8 across long edge, dc inc into corner, dc inc, dc1 across short edge, join by working a ss into the first st of the row. (26 sts)

Ch1: This is your turning chain. Like your previous four rows you will turn your work so that you will be crocheting back along the long edge you just crocheted, from right to left.

dc dec, dc6, dc inc into corner: These double crochet stitches are made across the 9 v’s (the stitches from your last row) of the long edge. (9 sts)

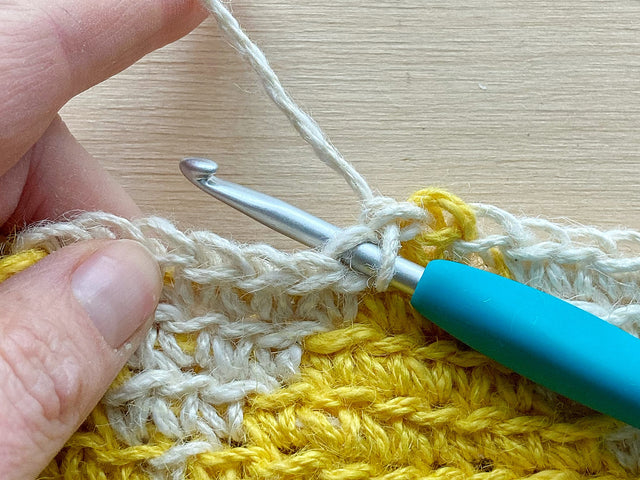
dc inc across short edge: Work this double crochet increase into a gap in the centre of the short edge. (2 sts)

dc inc into corner: Work this double crochet increase into a gap in the left corner of the short edge. This should be next to your foundation chain tail end. (2 sts)

dc8 across long edge: These double crochet stitches are made across the 8 v’s of your foundation chain stitches. (8 sts)

dc inc into corner: Work this double crochet increase into a gap in the right corner of the short edge. (2 sts)

dc inc, dc1 across short edge: Work the double crochet increase into a gap in the centre of the short edge, followed by one double crochet stitch into a gap in the left corner of the short edge. (3 sts)

join by working a ss into the first st of the row: Finish your circumference of stitches by working a slip stitch into the v of the very first stitch you created at the start of this round.
Count your v’s around the circumference to confirm you made 26 stitches in total.
Leave approx. 40cm tail, cut yarn and fasten off.
Deer Hat
Ch1, dc3, dc4 across long edge, dc inc into corner, dc1 across short edge, dc inc into corner, dc3 across long edge, dc inc into corner, join by working a ss into the first st of the row. (17 sts)

Ch1: This is your turning chain. Like your previous four rows you will turn your work so that you will be crocheting back along the short edge you just crocheted, from right to left.

dc3: These double crochet stitches are made across the 3 v’s (the stitches from your last row) of the short edge. (3 sts)

dc4 across long edge: These double crochet stitches are made into the gaps between your rows of crochet. (4 sts)

dc inc into corner: Work this double crochet increase into a gap in the left corner of the long edge. This should be next to your foundation chain tail end. (2 sts)

dc1 across short edge: Work this double crochet into a gap in the centre of the short edge. (1 sts)

dc inc into corner: Work this double crochet increase into a gap in the left corner of the short edge. (2 sts)

dc3 across long edge: These double crochet stitches are made into the gaps between your rows of crochet. (3 sts)

dc inc into corner: Work this double crochet increase into a gap in the left corner of the long edge. (2 sts)

join by working a ss into the first st of the row: Finish your circumference of stitches by working a slip stitch into the v of the very first stitch you created at the start of this round.
Count your v’s around the circumference to confirm you made 17 stitches in total.
Leave approx. 30cm tail, cut yarn and fasten off.
We hope you enjoy the Enchanted Woodlands collection, and learning new stitches and techniques with the crochet embellishments. The combined knitting and crochet kits are the perfect way to transition between the two crafts. If you’re unsure whether the kits are appropriate for your knitting and or crochet level then read our blog post about the collection and its kit levels here. Hopefully the above has helped explain any elements of the patterns that may have seemed tricky but if you have questions about other parts of the Enchanted Woodlands Collection Knitting & Crochet Kits then please leave a comment below.
Happy crafting!